Welcome to my cookie blog! I hope to share my latest cookie creations with you, as well as information on how to order your own custom cookies. To see my older cookies, please click on the GALLERY above to view my flickr page. Check back often for lots of yummy goodness!
I am not currently taking orders at this time.
Showing posts with label Tip of the Week. Show all posts

Tuesday, March 18, 2014

Shipping Beach Balls

Beach baby, beach baby give me your hand.
Give me somethin' that I can remember....


Making these beach balls while the kiddos were home from school for THREE SNOW DAYS had to be some sort of cruel and unusual punishment! As if we weren't longing for summer already....

They were fun though, and I love the bright colors. If bright, colorful beach balls doesn't cheer you up, I'm not sure what would. Puppies, maybe? But I digress....

These beach ball favors were shipped to Buffalo, NY for a cute kiddo's swimming birthday party. I hope he loved them, and I hope he had a very happy birthday. Happy birthday, Noah!


I'm often asked if I ship cookies. The short answer is YES. The long answer is YES, IF I HAVE TO. :) Shipping is stressful (will they get there in time, will they break, will they get lost in the mail?) and it takes me almost as long to package the cookies for shipping as it does to decorate them. I've been shipping for long enough now that I have a nearly foolproof system. I use USPS 2-3 Priority Mail which, although NOT guaranteed, almost always gets to the destination within 3 days. (Shipping at Christmas is another story altogether!) I also wrap the cookies and pack them very, very, very carefully, and have yet to have a box of broken cookies arrive at their destination. I also will only ship certain shapes. I had a request for giraffes once, but had to say no. The last thing the recipient would want would be a bunch of decapitated giraffes. We can usually come up with an alternative, like giraffe prints on circles.


Alas, once they are out of my hands, the cookies are at the mercy of the post office. I insure them for up to $50 and you may purchase additional insurance if you'd like.

So for this week's Tuesday Tip of the Week, here's how I package cookies...

First, each cookie is individually wrapped in clear food-safe cello bags. Favors are then tied with coordinating curling ribbon. Alternatively, each bag can be heat sealed.


Once they're all bagged, I gather my supplies. One 12x12x10 inch outer shipping box, smaller inner box(es), bubble wrap, tissue paper, scissors, packing tape, etc.


For sturdy cookies like circles, I cut the bubble wrap to place between each cookie. For slightly more fragile cookies I may wrap each cookie in bubble wrap.


I line the inner box with tissue paper (with extra bunched up on the bottom of the box).


Then I place the cookies UPRIGHT into the box, alternating cookie, bubble wrap, cookie, bubble wrap, cookie, bubble wrap.....


When the cookies are boxed, it is important that they are fairly tight. Give the box a good shake. Movement is your enemy. You do not want the cookies to move around at all. If you hear them jiggling, add more tissue paper or bubble wrap. When they're snugly packed, put the inner box(es) into the outer shipping box and surround the inner boxes with packing peanuts or some other sort of packing material. Again, you want everything to be snug. No movement inside the bigger box either.


Finally, close up the box and print your label or bring it to the post office. If you have a good scale at home, you can weigh your package and print your labels at home, which will usually save you a buck or two and keep you from having to wait in line at the post office.


The USPS provides free tracking on Priority Mail packages now, so you can keep an eye on the progress of your cookies.

Do you have a different way to package your cookies?

Tuesday, December 3, 2013

Tuesday Tip of the Week

Uh oh. The holidays seem to have gotten the better of me! I don't have a Tuesday Tip of the Week for you this week. If you have any suggestions for future tips, please leave a comment below! Thanks and happy holidays!

Tuesday, November 26, 2013

Tuesday Tip of the Week {rolling pin bands}

If I had to choose ONE tool that has significantly improved my cookie making, it would have to be my Rolling Pin Rubber Rings that my hubby got me as a present.


Once you pop these babies on your rolling pin, you can roll your dough to uniform thickness. Every. Single. Time. 


Mind. Blown.


The rings keep the rolling pin a precise distance from the dough, so you never get cookies that are too thin or too thick. The set he got me included 8 different rings, or 4 pairs: 1/16-inch, 1/8-inch, 1/4-inch and 3/8-inch. 


I use the 1/4-inch pair and my cookies turn out perfect every time.


Do you have a favorite tool that you can't live without?


Tuesday, November 19, 2013

Tuesday Tip of the Week {dividing dough}

I have tried many different sugar cookies recipes but the only one I use now is THIS ONE. I get consistent results with cookies that are buttery, delicious, and not too sweet. The dough is also very easy to work with.

To make it easier to roll out your dough, divide it into 4 blobs (yes, that's the official name for it) and place each blob on a separate saran wrap rectangle.


I usually just eyeball it to make sure my blobs are roughly even, but if you're picky you can use a scale.


Once your blobs are equal, form them into balls.


Then flatten each ball into a disk and wrap each disk with the saran wrap. Place your disks of dough in the refrigerator for at least an hour before rolling and cutting out your cookies. If you have dough left over, place saran-wrapped disks in a freezer bag and freeze.


Using only a quarter of the dough at a time makes it much easier to roll out. Depending on the size of the cookie cutter you're using, you can expect to get anywhere from 8-20 cookies per disk.

I hope this helps when you start making your holiday cookies! Happy baking!

Tuesday, November 12, 2013

Tuesday Tip of the Week
{baking sheets}

What you bake your cookies ON can really affect how your cookies turn out. Do they bake unevenly? Do the bottoms burn before the middle is cooked through? Do your pans warp when they hit the heat of your oven? I've tried several different cookie sheets, and I'm finally happy with THESE from NordicWare.


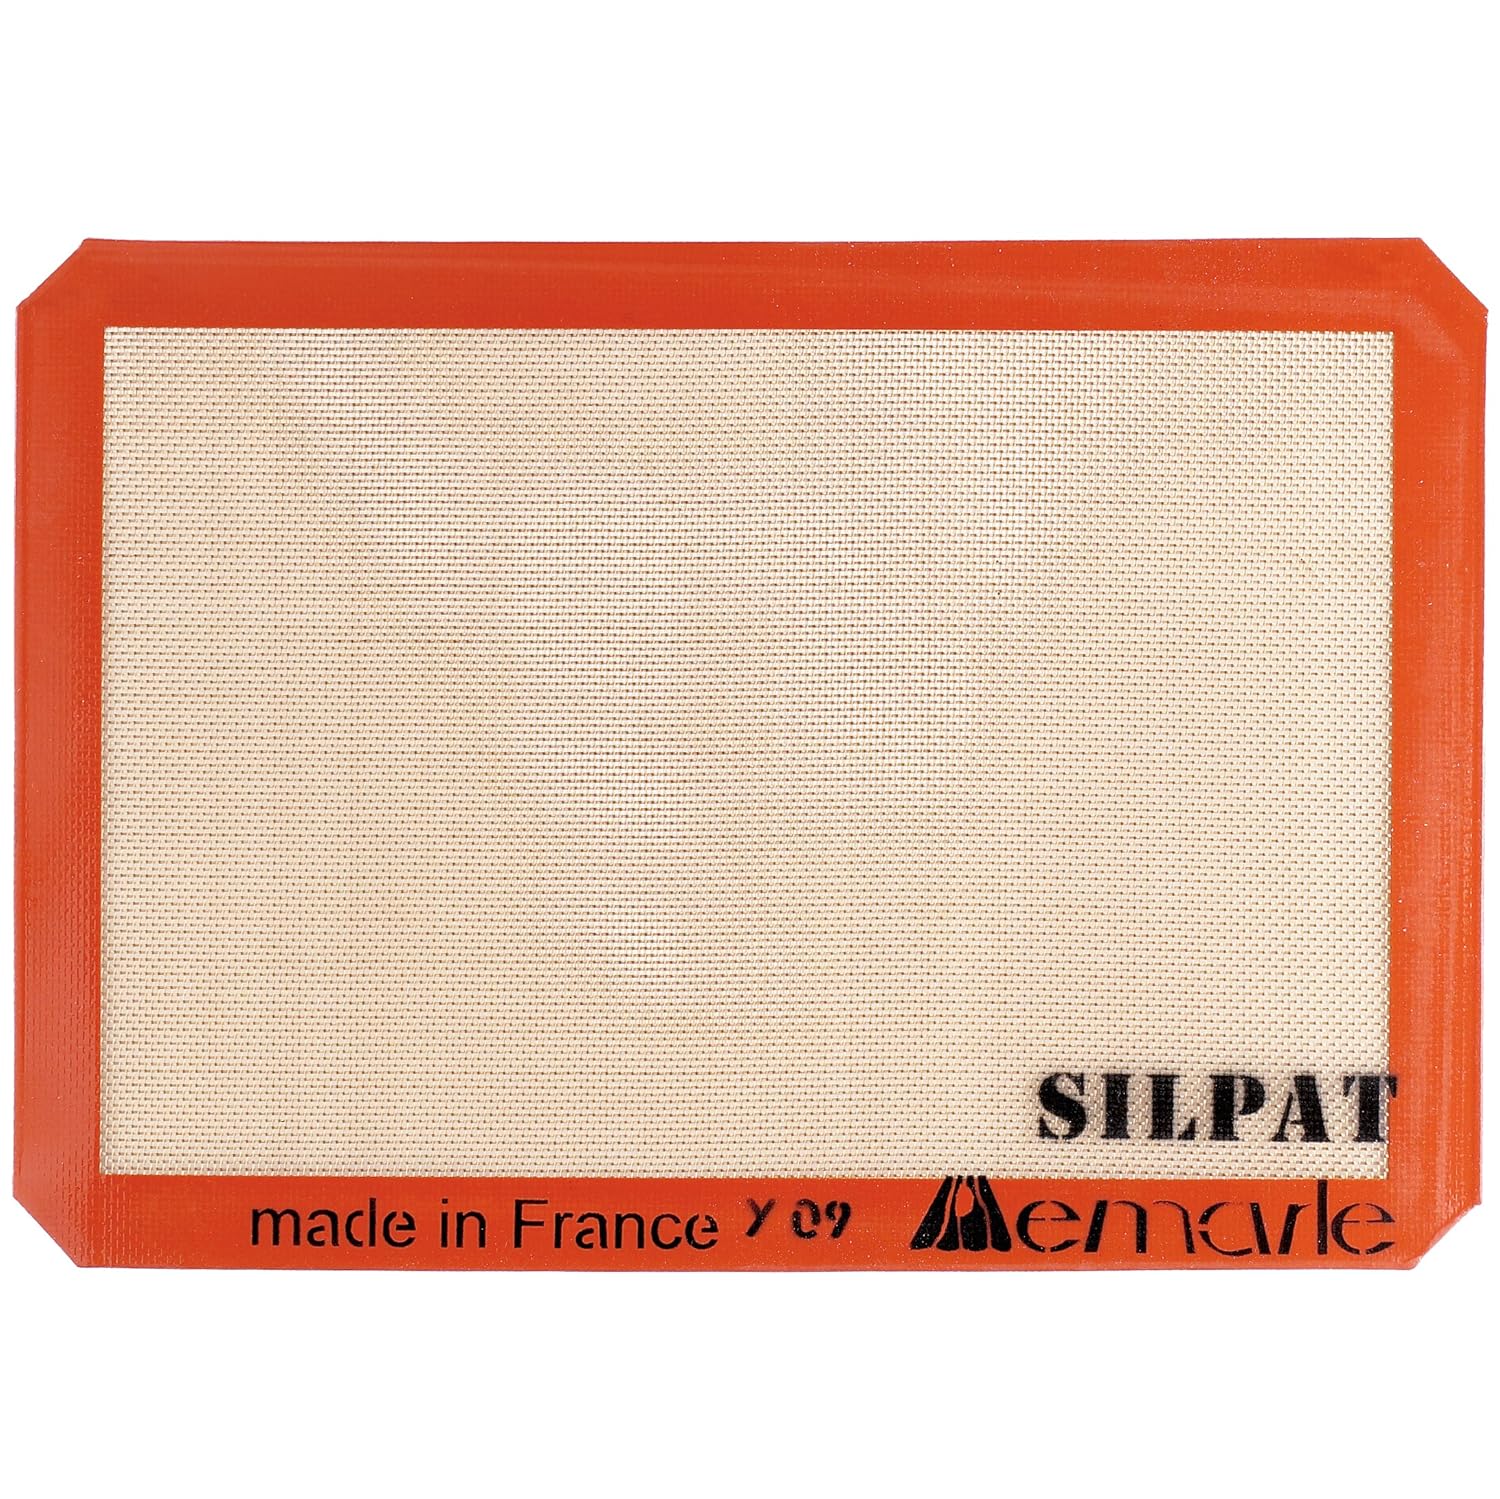
Coupled with my trusted Silpats, these really do the trick. They are sturdy and bake evenly and I get consistent results every time. And with the Silpats, nothing sticks and they're a breeze to clean.


Happy baking!

Tuesday, November 5, 2013

Tuesday Tip of the Week
{cookie spread, part 2}

In my first Tip of the Week, I suggested putting cut-out dough into the fridge before baking to prevent cookie spread. The other way to combat this is by reducing the amount of baking powder in your cookie recipe. I use enough to help the cookies rise, but not so much that they'll spread and lose their shape. For my entire recipe, I use only 1 teaspoon of baking powder.

I've added a tab at the top of the page where you can find my sugar cookie recipe and my royal icing recipe, or you can click HERE. Enjoy them!


Tuesday, October 29, 2013

Tuesday Tip of the Week
{cooling cookies}

Welcome to another Tuesday Tip of the Week! Every week I'll let you in on a little secret that has helped me perfect my cookies....

Have you ever tried to lift your freshly baked cookies off the cookie sheet only to smoosh or otherwise mangle them? The solution: let your cookies cool ON the cookie sheet for about 5-10 minutes before removing them. This allows the cookies to firm up just enough so that you won't bend, break, or distort them when removing them to the cooling rack.

Once they are firm enough to move, place them on a cooling rack and allow the cookies to cool completely before icing them. My favorite cooling racks are THESE stackable ones from Wilton.


I have 2 sets of 3, so I can stack them high and cool lots of cookies while only taking up a small footprint on my counter, plus they collapse down making them easy to store.

Happy baking!

Tuesday, October 22, 2013

Tuesday Tip of the Week
{cookie spread, part 1}

Thanks to my good friend Isabel, I've decided to offer a Tuesday Tip of the Week! This week's tip was one I learned early on and really changed my cookies.....

Have you ever baked some cookies that started out looking perfect, only to take them out of the oven and find they look like one giant glob? Spreading cookies may not be a disaster if you're baking circles, but if you're trying to make something with fine details, cookie spread can be the kiss of death.


There are two things that I've found that can help your cookies keep their shape. The first is in the recipe you use. I use only a little bit of baking powder to allow the cookies to rise slightly, but not enough to make them spread. Check back in a few weeks and I'll share my cookie recipe on another Tuesday Tip of the Week!


The other key to keeping your cookies from spreading is that they need to be cold. After you roll and cut out your cookies, place them on the cookie sheet and into the refrigerator for at least an hour. Then bake them straight from the fridge. They hold their shape much better when they're cold and baked on a cold cookie sheet.


Happy baking!